
Removing barriers to MEANINGFUL technology use!

Holding the Line on Tech Use in Classrooms
For years, schools have provided educators with powerful tools designed to improve learning, feedback, and efficiency. But when those tools go unused over time, the question shifts from preference to responsibility. This post explores where that line might be—and how educators can support one another in moving practice forward.
A colleague once asked me a question that has stuck with me for years.

“If you were hiring a contractor to build a house, and one showed up with just a hammer and nails, while another arrived with a full set of tools—a power nailer, an air compressor, a hammer, everything they needed—who would you hire?”
For most of us, the answer is immediate. We would hire the contractor with the tools. Not because the hammer-and-nails approach can’t work, but because we understand what the right tools unlock: efficiency, precision, and the ability to do the job well at a higher level.
That question has come back to me often as I think about teaching and technology.
The Tools Are Already Here
In education, we now have access to powerful tools—many of them not new, not experimental, but embedded in our systems for years. Learning platforms, feedback tools, content creation tools, collaboration spaces. In many districts, these have been available for five, even ten years, with training, coaching, and support structures built around them.
And yet, we all know the reality. There are classrooms where those tools are used in thoughtful, purposeful ways that elevate student learning. And there are classrooms where those same tools sit largely untouched.
This is not about cutting-edge innovation. It’s not about asking every educator to chase the newest thing or become a technology expert. In fact, I would argue the opposite. The goal has never been “technology for the sake of technology.”
For years, many of us have used frameworks like SAMR to guide this thinking. If technology doesn’t meaningfully improve the learning experience, we leave it out. If it allows us to redefine learning, to give students opportunities they wouldn’t otherwise have, then it’s worth exploring.
The power is not in using more tools. It’s in using the right tools, well.
When Does It Become a Problem of Practice?

So the question becomes harder, and more uncomfortable.
If a tool has been available for years…
If support has been offered…
If colleagues are using it effectively…
At what point does choosing not to engage with that tool become a problem?
Not a preference. Not a style difference. But a problem of practice.
This is where the conversation needs nuance. Teachers are asked to do an extraordinary amount with limited time. We do not build enough space into the profession for deep learning, experimentation, and growth. Much of what educators learn is done outside of contract hours, driven by personal commitment rather than systemic design. That reality matters, and it should temper how we approach this conversation.
However, it cannot fully excuse it.
The truth is that on the other side of that equation are students. Students who move from classroom to classroom experiencing very different levels of access, feedback, efficiency, and opportunity depending on whether a teacher has engaged with the tools available to them. That inconsistency of the student experience is where this becomes more than a personal choice.
This Is Not About Being “All In” on Technology
It’s important to say this clearly: this is not a call for more screen time, more apps, or more noise in the classroom.
Some of the best teaching happens without technology. Some of the most powerful moments in learning are rooted in conversation, reflection, and human connection. But when a tool can enhance feedback, streamline workflow, increase access, or allow students to create and think in new ways—and that tool has been sitting within reach for years—the expectation shifts. Not toward perfection. But toward engagement.
There is also something to be said for depth over breadth. One well-understood tool used across multiple contexts can be far more powerful than a dozen tools used superficially. A kind of “Swiss Army knife” approach to technology reduces cognitive load, increases efficiency, and allows both teachers and students to focus on learning rather than navigating systems.
Again, this isn’t about doing more. It’s about doing what matters, better.
A Collective Responsibility
What makes this conversation challenging is that the expectation to hold these individuals accountable often defaults to leadership. The common wisdom that prevails in the minds of most educators is that they do not provide feedback to colleagues. Principals evaluate. Districts set expectations. Systems define “non-negotiables.”
While all true statements, there is another layer that matters just as much, if not more: the profession holding itself accountable.
The reality is, teachers listen to teachers. A colleague’s voice often carries more weight than a directive from above. A quiet conversation in a hallway can move practice more effectively than a formal evaluation cycle. An excited share out about a success in your own classroom, or an offer to support a colleague that is unwilling to take the first step — these are the gold standard for encouraging professional growth.
We can tell ourselves that the stick of administration pointed at teachers is the only thing that works to move these individuals (and it is a small set of individuals). Yet, time and again when I have seen that approach yielded, I have watched teacher colleagues quietly defend or empathize with the teacher in question. We typically do not love a top-down approach when we see it utilized. And that makes us responsible for taking the reasonable next step — nudging and supporting our colleagues before anybody else has to get involved.
So the question becomes:
What do we say to one another?
What does it look like when a colleague says, “I don’t use that,” and we know the tool has value—not as a mandate, but as a meaningful way to support students?
Moving the Conversation Forward
This is where tone matters. This is not about calling people out. It’s about calling people in.
It might sound like:
“I used to feel the same way, but this actually saved me a lot of time once I got into it.”
“Our students are going to see this in other classes—it might be worth taking a look together.”
“If you ever want to try it, I’d be happy to walk through it with you.”
“This has been really helpful for feedback—I think it could make things easier for you.”
None of those statements carry judgment. But they do carry expectation. They signal that the work is worth doing. They keep the focus where it belongs: on improving the experience for students.
Holding the Line—Together
The question isn’t whether every teacher needs to use every tool. They don’t.
The question is whether, as a profession, we are willing to engage with the tools that meaningfully improve our work—especially when those tools have been in front of us for years. At some point, the line between preference and responsibility begins to matter.
Not because of compliance. Not because of evaluation. It is because of what students experience every day in our classrooms.
We have a collective responsibility to move the profession forward—not perfectly, not all at once, but steadily and intentionally. And in many cases, that work doesn’t begin with a mandate.
It begins with one teacher turning to another and saying, “Hey, this might be worth your time.”

The Leadership Moment AI is Placing on Public Schools
Artificial intelligence will not replace educators, but it will reshape how learning happens. For school leaders, the question is no longer whether AI will influence education, but how intentionally we choose to guide its use in our systems. This post explores practical ways leaders can begin building understanding, rethinking assessment, and moving schools forward.
This week I had the opportunity to spend time with a group of school leaders through The Principals’ Center at the Milwaukee School of Engineering, hosted by Michele Trawicki and the board team who help guide that work. It was one of those sessions that reminded me just how thoughtful and committed our school leaders are — and how much uncertainty they are navigating at the same time.
The focus of our conversation was artificial intelligence and what it means for schools right now. Not in the abstract sense of “what might happen someday,” but in the very practical sense of how leaders can begin helping their systems understand and respond to these tools today. The presentation is available here.
One of the central ideas we explored was this: educators will not be replaced by AI. But organizations that learn to use AI effectively will absolutely move faster than those that do not.
That distinction matters.
For many years, schools have been able to treat new technologies as optional innovations that a few curious teachers explore first. Eventually practices spread, systems adapt, and the change finds its way into classrooms more broadly. AI feels different. It is not simply another digital tool layered onto existing practice; it is a technology that has the potential to reshape how knowledge is created, how work is done, and how learning is personalized.
As a result, the response cannot live only in a few innovative classrooms. It has to involve leadership.
Where Leaders Can Begin Right Now
Much of our time together focused on practical places leaders can begin. In some cases that starts with something as simple as building understanding. Many educators are hearing about large language models, generative AI, and AI assistants without ever having a clear explanation of what these systems actually are or how they work. Helping staff develop that foundational understanding is one of the most important leadership moves available right now.
From there, the conversation quickly turns to teaching and learning. If AI tools can assist with drafting, summarizing, brainstorming, and problem solving, what does that mean for the way we design learning experiences? How might assessment strategies need to shift when students have access to tools that can generate text or help solve complex problems? These are not questions teachers should be left to navigate alone. They require thoughtful discussion across teams, departments, and leadership groups so that schools move forward with clarity rather than confusion.
This was the heart of the conversation with the Principals’ Center: not predicting the future, but identifying the leadership actions that can begin today.
At the same time, we also acknowledged something happening just beyond the edges of public education. Around the country, new learning models are beginning to emerge that use AI as a core part of how instruction is delivered and personalized. One example we briefly discussed was the model promoted by 2 Hour Learning, which suggests that AI-driven tutoring systems could allow students to complete academic learning much more efficiently while freeing large portions of the day for other pursuits.
Whether those models ultimately succeed or not is almost beside the point. What matters is that they are being built, marketed, and offered as alternatives to traditional schooling.
Let’s be clear: families are paying attention.
Why This Moment Calls for Leadership
Public education operates within a system where enrollment matters. Buildings, transportation, staffing, and programming all depend on funding structures tied to the number of students we serve. If new models begin attracting even small numbers of students away from traditional systems, the ripple effects eventually become real for districts and communities.
This is not a doomsday prediction. But it is a reminder that the landscape around us is changing faster than it has in a long time.
For decades, schools have been asked to evolve while simultaneously maintaining stability. We have worked to improve outcomes, support students, and meet growing expectations while largely operating within structures that have remained familiar for generations. Artificial intelligence introduces a moment where that balance may need to shift. The tools now available create opportunities to rethink how learning is personalized, how feedback is delivered, and how educators spend their time.
None of that diminishes the human work at the center of education. If anything, it amplifies its importance. Students will always need adults who mentor them, challenge them, guide them, and help them develop the judgment and character required to navigate a complex world. But the systems surrounding that work must evolve.
The goal of conversations like the one we had at the Principals’ Center is not to create urgency for its own sake. It is to encourage thoughtful leadership. If districts have not yet begun exploring how AI fits into their systems, it is not too late. But we are approaching a moment where waiting much longer means allowing others to define the future of learning without us.
Schools have an opportunity right now to shape how these tools are used, how they support teaching and learning, and how they strengthen rather than weaken the mission of public education.
That work begins with leaders who are willing to learn alongside their staff, ask difficult questions about existing practices, and take the first deliberate steps forward.
The future of education will not be built by AI.
But it will almost certainly be shaped by the leaders who decide how — and whether — to use it.
Beyond Free Tools: Rethinking Partnership in Ed Tech
In schools, innovation doesn’t happen in isolation — it happens through people making decisions in different roles. Teachers are asking, Will this actually help my students? Leaders are asking, Will this scale? Can we sustain it? Does the data support it?
This post explores the tension and connection between those perspectives — and why the most powerful progress happens when adoption, data, and relationships aren’t competing priorities, but shared commitments.
When I was in the classroom, my approach to ed tech was simple: find the best tool I could get my hands on, make sure it was free, and put it in front of students as quickly as possible. If it worked well, I talked about it. I shared it with colleagues. I presented on it. I advocated for it without hesitation.
And ed tech companies understood that dynamic long before I did.
They knew teachers were the entry point. If we loved something, we would champion it. If enough of us adopted a free version, that usage could later become a compelling story for district-level conversations. As I transitioned to a tech coordinator role, I began receiving the cold emails and introductory calls that followed a familiar pattern: “I’m your district representative for ___.” Then, almost predictably, “I could tell you how great our product is, but wouldn’t you rather hear what your teachers think?”
What followed was often a detailed report showing adoption numbers that exceeded what I would have guessed. Sometimes there were names. Sometimes quotes. It was presented as evidence of organic enthusiasm, and in many cases it probably was. But it was also data being strategically gathered and positioned.
For a long time, I simply assumed that was how ed tech worked.
The Shift From Tools to Trust
What I’ve come to understand over the last sixteen years, though, is that the tools themselves are only part of the story. The real differentiator is relationship.
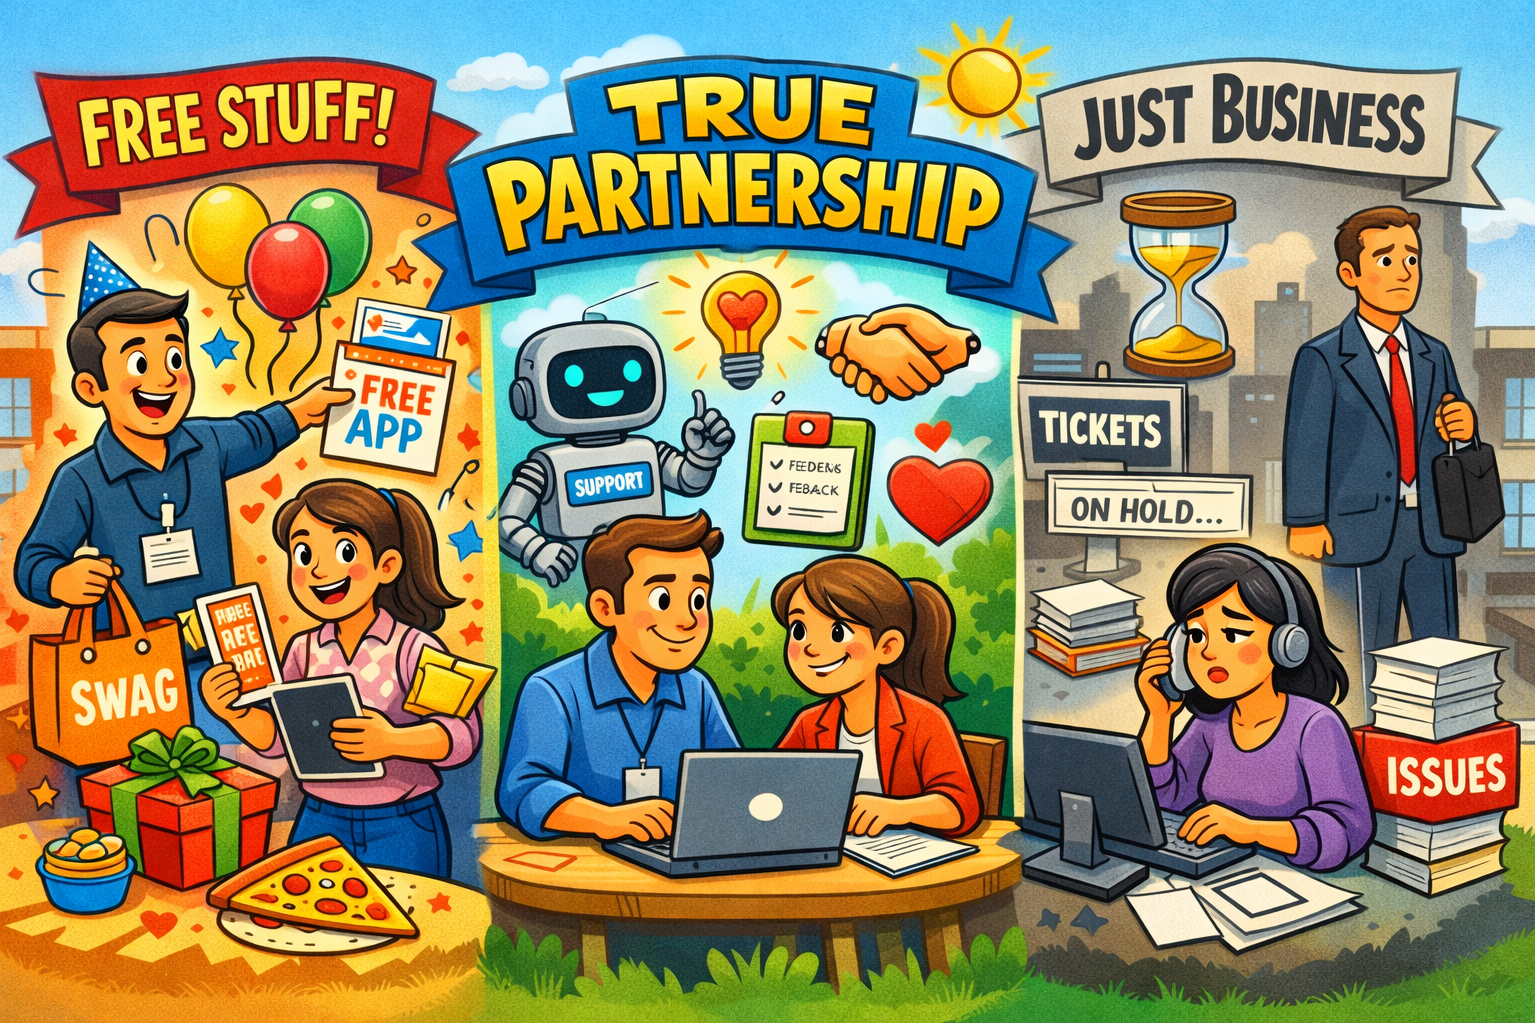
Relationship is not a conference dinner or a branded backpack full of swag. It’s not a free webinar that was already on your company’s marketing calendar. It isn’t even early access to new features. Those things can be pleasant, but they aren’t partnership.
The kind of relationship that actually matters in this work shows up in quieter, more consistent ways. It’s the support representative who remembers the nuances of your district and follows up without being prompted. It’s the engineer who takes a recurring complaint seriously enough to explore a fix. It’s the trainer who understands your instructional goals instead of simply walking through a slide deck. It’s a salesperson who knows when to suggest something new and when to say, “This probably isn’t right for you right now.”
That kind of attentiveness doesn’t happen by accident. It reflects something deeper about the company’s identity and leadership. In those cases, partnership feels embedded in their culture. You can sense that they value long-term trust more than short-term wins. Those are the companies you find yourself wanting to work with, even when they aren’t the least expensive option on the market. Over time, the relationship becomes part of the value.
When Partnership Takes Work
There are also companies where that depth of connection is possible, but it takes effort. We’ve worked with vendors where turnover disrupted continuity, where customer success managers were stretched thin, or where internal shifts changed the tone of the partnership. Sometimes investing time in those relationships pays off. You build shared understanding. You navigate challenges together. Other times, despite best efforts on both sides, it never quite solidifies.
In those situations, the strength of the product has to justify the energy required to maintain the partnership. And when renewal conversations arise—especially when pricing increases in ways that feel abrupt or unclear—the absence of relational capital becomes very noticeable. What a company pours into you over time shapes how confidently you advocate for them in return.
The Transactional Reality
Then there are what I think of as “as-is” companies. They may offer a powerful product or operate at such scale that personalization isn’t realistic. You submit tickets. You wait your turn. You adapt to their roadmap rather than contributing to it. The exchange is transactional, and everyone understands that.
Sometimes that’s simply the nature of the product. Sometimes it’s a strategic choice. Sometimes you see companies you love shift to this model and you are acutely aware that there has been a shift in strategy by the leadership (this is hard to swallow). In either case, you approach those relationships differently. You don’t confuse access with partnership.
Advocacy for the vendor is rare in these situations. Unless the vendor cultivates some type of active user community and incentives for educators to actively participate, this becomes the type of company you kind of roll your eyes at as a customer. Yes, I’ll do business with you. Not because I want to, but because you are the only game in town for this particular product. It is similar to how most of us feel when we have to pay our utility bills.
A Broader Lens for Teachers and Leaders

If you’re a classroom teacher, I don’t share this to discourage exploration. Free tools can be transformative. Innovation often starts there. But I do think it’s worth recognizing that there’s a larger ecosystem at play beyond “free for me.” Adoption has ripple effects. Data has direction. And relationships—whether present or absent—matter more than we sometimes acknowledge.
If you’re in a district-level role, the reflection shifts slightly. What kinds of companies are we aligning ourselves with? Do they understand our context? Do they respond when things break? Do they grow with us? Or are we simply managing subscriptions and usage reports?
I don’t pretend to have a neat formula for evaluating all of this. What I have is sixteen years of watching patterns emerge. The longer I work in this space, the more convinced I am that technology decisions are rarely just about features or pricing. They are about people. They are about responsiveness. They are about trust.
And in education—where the stakes are always students—trust is not a small thing.