
Removing barriers to MEANINGFUL technology use!

Improve sound quality in your online videos with these microphones
Suddenly creating more online content than you ever imagined you would? Educators can add value to their online video content by improving the quality of sound recordings with these suggested tools.
As teachers across my network are suddenly being thrust into the practice of creating online instructional videos, one of the common concerns I have heard throughout the week was how much people hated the sound of their own recorded voice.
If you can relate, let me first say that you are not alone. Few people actually enjoy listening to the sound of their own recorded voice. However, that does not mean your audience has the same reaction. If your audience already knows what you sound like, they recognize your voice and are not bothered by it. In fact, for your students at home who are just missing you and school, they may find it quite comforting to hear their teachers.
And if they do not know you and are watching your video, well, then you are Internet famous! So, who cares?
One question I have been asked a few times this week was how to improve the audio quality when recording a video. I have been on the pursuit of better sounding audio for years. I have tried different microphones, sound boards, software applications. I have spent stupid money on recording products that sit on my tech shelf downstairs.
With that hard-earned experience, I am happy to tell you that with a slight investment (and not a lot of technical know-how), you can get better quality audio in your video recordings.
Buy a Better Microphone
Simple as this may sound, the solution to better audio is to purchase a better microphone than the one built into your device(s). This is not to say that the microphone in your devices is bad. Some are really good, actually. But they are designed for a wide variety of situations. They need to be easy-to-use, reliable, and somewhat cheap to manufacture. They are meant to capture audio in the room, audio to the side of them, and audio directly into them. They are a multi-purpose microphone intended to be a jack-of-all-trades, but master of none.
Buying a better microphone means buying the microphone that is intended for your key audio purpose. For this post, my assumption is that you are an educator individually speaking into a microphone. (If you have a different purpose, these recommendations may not be most appropriate for you.)
Desktop Microphone Recommendations
If you are looking for a microphone to place on a solid surface while you record, I have a microphone that I absolutely love and would strongly recommend. The Shure MV5 is a microphone that I use several times a week, whenever I am recording instructional and support videos. I plug it into my Mac laptop, change my input in whatever program I’m recording in, and I press record. The quality difference when using the Shure MV5 will be obvious immediately. Trust me, my videos sound so much better when I record using this microphone. For me, the slightly more expensive price point is worth it.

A feature I love about the Shure MV5 is the stand that comes with it out of the box. Positioning a desktop microphone for comfort can be challenging, especially a microphone that you need to speak into directly. The stand on this microphone is small, but its unique positioning system makes the mic incredibly flexible (without having a permanent mic trapeze setup on your desk). Additionally, the stand makes the mic incredibly portable, which is particularly useful if you are not lucky enough to have just one place you work in your home.
Listening back to your recordings is critical to creating better instructional videos. The Shure MV5 has a built in headphone plug, making listening to playback even easier. With this setup, pick a single audio input/output source, your Shure MV5 mic. I like simplicity, especially when I am working with people new to technology. Nothing makes it easier than picking a single setting on your device.
I truly love this mic, and I guarantee you will hear better quality audio in your recordings as soon as you use it. The price point is higher than many beginners may be comfortable with for a mic. I totally understand that, but if you are seeking truly high quality audio, I find this mic to be a bargain compared to other high quality microphones on the market.

If the price point of the Shure MV5 is a little out of your comfort range, I do have another good recommendation that cuts the price in half. This is a microphone we purchased for use at school, and it is our favorite mic to offer when a teacher needs to check out a desktop microphone. The Samson Meteor Mic USB Studio Microphone is easy to use, well designed, and will definitely give you a boost in your audio recording quality.
This handy little desktop microphone has a truly unique design. I hate a lot of desktop clutter, and I love mobility. Some of the microphones that I have tried have complex adjustable arms, pop-screen filters, and wires coming out of them. While those types of setups may make your desk feel like a mini professional recording studio, they are far from being neat, tidy, or portable.
The Samson Meteor Mic, though, has legs that fold up to protect the microphone, and flip out to serve as its stand. This makes the stand incredibly adjustable to allow for a comfortable recording angle while you talk directly into the microphone. It is a handy mic that is well designed.
The audio quality from the Samson Meteor Mic is notably better than the microphone built into your device. The setup on my Mac is incredibly easy. And this mic also has a headphone jack on the back for easy audio setup and playback. Overall, the Samson Meteor Mic is a quality microphone that will offer a noticeable improvement in your audio for a smaller price.
Lapel Microphone for On-screen Appearances
As much as you might not want to, sometimes you just need to show your face on camera (or you want to interview somebody else on camera). When that happens, you still want better audio to improve the overall quality of your video. In these cases, a desktop microphone may not fit the need. After a long search and several iterations of solutions to this issue, it has come down to this solution for me: a lavalier or lapel microphone.

You have noticed these mics before for on-stage speakers, on-air television hosts, and others. I avoided them for a time because they seemed like an expensive solution. However, about three years ago I finally decided to make the purchase and was pleasantly surprised to learn that the wired, lower quality version of these mics are actually very reasonably priced. They are also easy to set up. And for a tool that I do not use regularly, those are two key factors to make the purchase worthwhile.
I am going to share a microphone of better quality than the one I purchased, but in the same price range. The PoP Voice Professional Lavalier Lapel Mic is a good choice. There are so many options on the market in this category, so there are a few things to consider when buying one.
The wire on this microphone is a little thicker than some of the other cheaper options. Especially for a microphone that spends a lot of time coiled up and out of the way, a slightly better cable that does not break quite as easily is something to consider. Additionally, you want to pay attention to cable length on a wired lapel microphone. This cable is roughly 6.5 feet. That should be long enough to get your iPad or phone far enough away to set up a decent shot of your subject while also capturing better audio.
The plug on these types of microphones is also important to note. Even though my iPhone no longer accepts a standard headphone jack plug, I still buy accessories with headphone jacks on them. I like the versatility of being able to use it on a tablet, on phones, and also on computers. If you are planning on using the PoP Voice Professional Lavalier Lapel Mic on your phone, you may want to consider purchasing an adapter to allow it to connect. Again, there are many on the market, but I tend to stick with the official Apple adapters as they are always supported.
Finally, buy one with a small wind screen or pop filter on it. This does reduce some of the “p” sound popping on camera, but more importantly, it provides a little wind and moisture barrier for your microphone. Nothing can ruin the audio on an outside interview like a nice breeze.
So, there you have some of my strongest product recommendations to improve the audio in your online videos. Remember, even the best video paired with poor audio quality will leave the viewers underwhelmed. Consider these upgrades to give your online recordings the boost they desire! And if you have an educator in your life, consider giving these microphones as gifts for teachers who would otherwise not buy these kinds of tools for themselves.
Boredom in class is dangerous!
Getting out of the daily grind of routines and activities in our classrooms is hard. Really hard! As teachers we find our lessons falling into patterns that are both comfortable and predictable.
And for our students, predictable can often be viewed as another word: boring.
Read more about John Hattie's research.
Without getting too heavy into research, let's just say that "boredom" has a seriously negative impact on learning. According to John Hattie's research in his study Visible Learning, which focuses on a wide range of educational studies and the impact that varying factors have on student achievement, boredom is not just problematic -- it's academic poison. With an effect size of -0.49, boredom is more damaging to student learning than lack of sleep, low socio-economic status, corporal punishment, and depression.
Boredom is dangerous. Worry when you see boredom in your classroom. Be additionally concerned if you are feeling bored with your teaching (because teacher efficacy, or believing in your own ability to make an impact on learners, is the MOST impactful thing you do).
If that's you, it's time to act!
In my time as an instructional/technology coach, I have been developing coaching relationships with teachers across my district. My goal isto help these teachers find ways to meaningfully integrate technology so they could move beyond substitutive uses of technology (doing what they have always done, but simply doing it with technology). The work has been nothing short of inspiring as we have watched transformation over time in these classrooms. Technology allows for so much opportunity in your classroom. And the reality is that technology can be learned by just about anybody. If you are a classroom teacher interested in stepping beyond the routines you live in today, but you feel that you do not have the technical chops to learn the technology, I promise, you are not beyond hope. You can learn this. You need an encouraging, patient coach in your corner, a fast finger on the YouTube play/pause button, and a focus on finding ways to engage your students. You will be amazed by the payoffs!
(Interested in the SAMR model? Click here to learn more.)
Take another look at Book Creator app: New tools, more options
If you have been looking at the same standard Book Creator app over the past few years, I have some exciting news: It's time for an update!
Before outlining some of the key new tools and changes in Book Creator, let's do a check to see if your Book Creator app is up-to-date. Pictured below is the newest Book Creator home screen. Open up your iPad, start Book Creator, and compare.
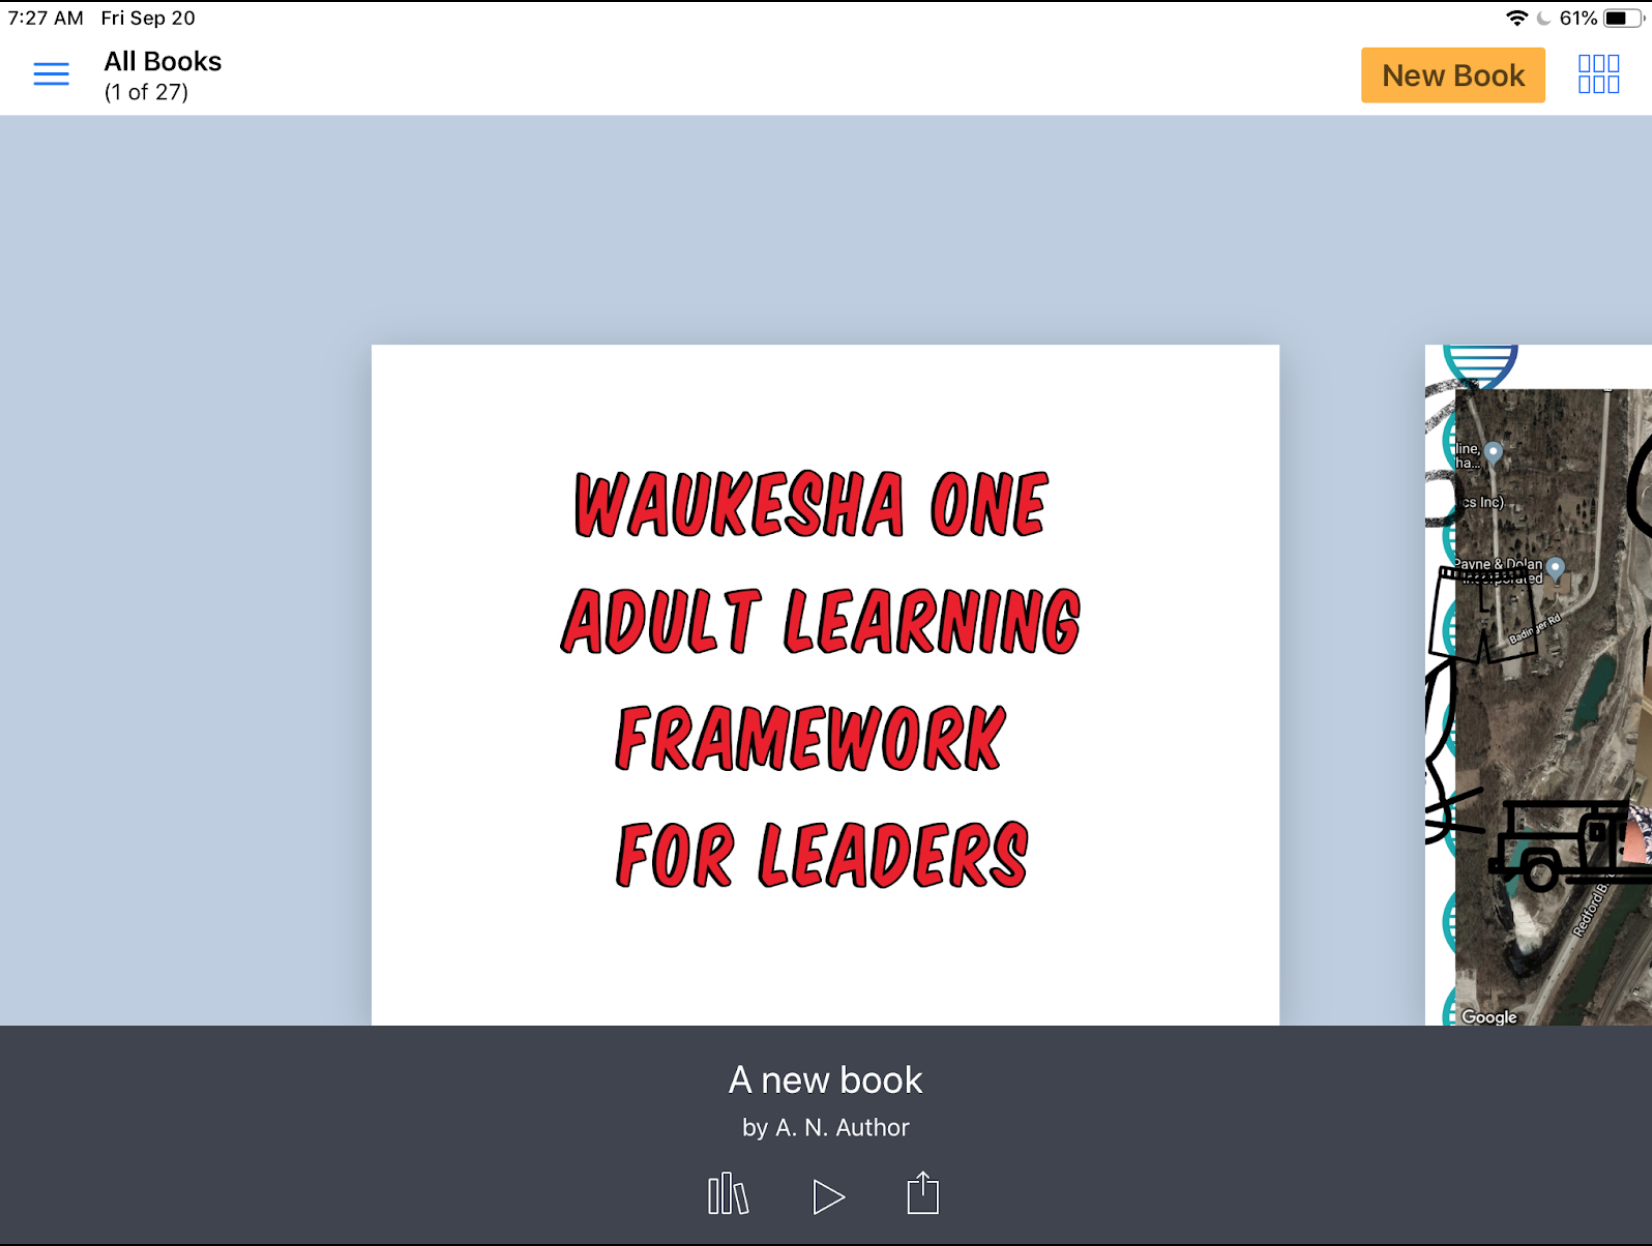
If your Book Creator app does not look like the one pictured above, you will need to do an update of the app (and so will your students). Once updated, welcome to the marvels of Book Creator 5.3.0. This is an opportunity to re-ignite your enthusiasm about Book Creator, no matter what grade level you teach. (Seriously, Book Creator is robust enough to handle every subject and all grade levels!)
New Feature for Teachers: Teacher Resources

The Book Creator developers and community are committed to supporting educators who use their product. In the newest update you'll see an offer for teachers to join the Book Creator community in the lower left of the screen (it will later be located in the upper left under the menu icon, which looks like three blue horizontal lines).
Signing up for the Teacher Resources is easy, and can inspire new ideas for educators at all grade levels. If you have stayed away from Book Creator because you cannot determine how it could be useful, take a few minutes to explore the sample books made by students and teachers from across the world. These books unveil how the tool is being used to showcase learning in every subject area. These books also show off just how powerful Book Creator really is with a creative mind.
New Feature for Teachers: Publish Books Online
One hang-up of Book Creator has been sharing student work with others who do not have the Book Creator app. The developers have tackled this challenge for classroom teachers. Once teachers have created a free teacher account, they can now publish these books online using the ePub format. This keeps video and media (including audio recordings) in place, and makes them accessible to anybody online, regardless of the device they use to view the book.
Learn more about the free online publishing of Book Creator projects for teachers by visiting this link.
New Tool: Updated Pens and Auto Draw
The pen tool has gotten a makeover in this update. Book Creator pens now come in varying sizes, ink colors, and styles. Draw with the pen, color with the crayon, use the highlighter, change the size of the drawing tip, and add some flare with Magic Inks.
However, the most notable update is the AutoDraw pen. Sketch noting is a powerful method for taking notes intertwined with drawing, but for the artistically challenged, later determining what the drawing was supposed to be can be a brainteaser of its own. Start drawing with the Auto Draw pen and Book Creator will offer some clip art suggestions based on what it thinks you might be trying to draw. Tap the preferred image and immediately have a professional looking icon representing your thinking or ideas. It's hard to believe it is as easy as I have explained. Give it a try to find out for yourself.
New Tool: Include Maps
Geography is hardly something that can be overlooked when studying any topic, but it is also a subject area that is difficult to generate interest in when taught out of context. Book Creator now allows users to embed a map from anywhere in the world that will allow geography to be a part of the showcase of learning. And it's easy.
Tap the Map tool in Book Creator. Then simply search for a location, pinch to zoom, select the layers of the map you want to view, and click Done. You now have a map inside of your Book Creator project. Mix that with the pen tools and you have a way to annotate directly over the top of your maps.
New Tool: Adding Files from Other Apps
Things are about to get very exciting for teachers who want students to incorporate all of their work in one place (this can be read as: "If you are thinking about portfolios, consider exploring this tool!").
Book Creator users can now add Files from other apps directly into the pages of their Book Creator project. This can include files stored in Google Drive, stored in the Files app on the iPad or even stored in iCloud Drive. Teachers will probably want to try this one out before jumping into a full class demo of it, but the possibilities this opens up are quite awe inspiring. Learn more about how to add files to Book Creator projects by clicking here.
New Tool: Embed from the Web
Want to bring the flashiness of the Web into your Book Creator projects? With the Web Embed tool you can. This actually is incredibly easy to use by simply pasting a web address into the provided box and letting Book Creator do the rest. It is equally powerful, allowing users to incorporate a specific web object using embed code. If your aim is to focus students on a specific website, or point them to unique experience on the web, without having them get lost down the rabbit hole of web searches, this might be a great tool to consider. Learn more about the Web Embed tool in Book Creator by clicking here.
Tool Update: Incorporate GarageBand Recordings in Book Creator
This one is not a new tool, but still a noteworthy feature. Book Creator does have an audio recording tool built in, but in many cases students want to have more flexibility and creativity with their audio recordings. GarageBand will allow them that flexibility. The question for some teachers is, "Where do we go with GarageBand recordings when they are finished?"
There is a method for incorporating those GarageBand recordings into Book Creator projects (quite easily, actually. I'm going to refer you to the experts on the subject here, as the Book Creator team is committed to continually updating their documentation on subjects like these with each iOS update. Take a look at the tutorial available here to learn how to incorporate GarageBand created audio files right into your Book Creator projects.